Showing posts with label Essential Oils. Show all posts

Sunday, February 8, 2015

Oil Pulling Voodoo

I have a pretty ridiculous faith in Pinterest. If Pinterest claims that doing something will have any positive affect on my health, beauty, lifestyle, or diet...odds are, I won't even weigh the possible side effects...I'll just give it the good ol' college try. I should be really embarrassed to admit that...but...truth is, I have only a few Pin-strosities that make me question the DIY suggestions, recipes, or new weirdo techniques. And if the internet says it's true...well, then it must be! ;)

A few months ago, I came across a pin claiming that "oil pulling" would all but change my life. During my 3am nurse session with Harrison...and Pinterst browse...my clouded mind was immediately intrigued by the claims of a healthier mouth, whiter teeth, clearer sinuses, fewer migraines, reduced allergy symptoms, and more and more and more. Check out a full list at PositiveMed.  It's quite ridiculous. 

Basically, you just swish a tablespoon of a quality oil in your mouth for 15-20 mins and then spit it out. And that's it.

My initial thoughts:

1. 15-20 minutes...who can possibly swish anything for that long. Ridiculous.
2. Yeah...coconut oil is going to make my teeth whiter. Ridiculous. 
3. There is NO WAY any oil can do ANY of those claims. Ridiculous.

I kept seeing things about oil pulling in almost all of my social media news feeds. I started to soften to the idea until I got to the point of saying...hey, it clearly won't kill me to try. Plus, this would ensure I couldn't talk to anyone for 15-20 minutes and that means that I might get left alone for 15-20 minutes...definitely worth the try.

I already use coconut oil quite a bit in my beauty routine so it was already at my sink...just staring at me...begging me to try it. So, one morning while getting ready for work, I scooped up a bit and stuffed it in my mouth. Swishing as if it was mouth wash, I pushed the oil through my teeth and around the sides of my mouth. I jumped in the shower and started going through my typical morning routine. When the time came to brush my teeth, I spit the oil in the trash can and rinsed with water...immediately, my mouth felt cleaner. 

What the what!?!?!?!?!?!

So for the next week, I kept oil pulling in my routine. I'm not going to even speculate that oil pulling is doing anything that the hundreds of websites claim...but...my mouth feels good, my teeth look a bit whiter, and my dental appointments are stellar. Sold. 

Last week, I took it up a notch and added a drop of orange essential oil, because again...Pinterest told me it would be awesome. And once again, Pinterest was right. I don't love the taste of coconut oil but I powered through because I liked the way my mouth felt after...but with the orange oil, I completely miss out on that funky taste. Winning.

Should you feel the need to give this a try, I have a few suggestions:

1. Coconut Oil is the shizz...but remember that it will harden so don't spit it down your sink drain. Consider spitting in a trash can or the toilet.

2. Don't swallow or let the oil touch the back of your throat. One of the claims is that oil pulling is actually pulling some of the bacteria out of your mouth and assisting in your detoxing...so you don't want to chance swallowing that nasty.

3. The 15-20 minutes isn't easy at first...but it does get easier. You can do it!

4. A tablespoon is A LOT at first so maybe build up to it. Again, you can do it!

5. Don't forget to rinse with water after. This just helps ensure all the nasty doesn't hang around in your mouth. 

Again, I have NO clue if oil pulling is living up to the claims or if it has any true health or scientific benefits...but I love the 15-20 minutes each morning that I have to be quiet...plus my mouth feels awesome. So it's official, I'm a legit crazy person now blindly believing in the oil pulling voodoo.

If you decide to give it a try...Happy Pulling!

Sunday, January 11, 2015

DIY Dog Ear Infection Cleaner

Our poor Oliver has had some nasty bouts with ear infections....we are talking ridiculously disgusting! That is the downside to those adorable cocker spaniel ears...too much moisture and not enough ventilation. After crazy vet visits with the same antibiotics and poignant smelling ear wash, I thought taking things into may own hands couldn't make it any worse. So I did a little research and came across an ear wash recipe from Zim Family Cockers, a site for cocker spaniel fanatics. I got all the ingredients and waited for the signs of the next nasty ear gunk....and what do you know...the red coloring and funky smells showed up...


Poor Oliver! Thankfully the coloring on this picture is much worse than it looked in reality...but it was still pretty bad. So I went to work...


Ingredients:

2 ounces White Vinegar
1 1/2 teaspoons Powdered Boric Acid
6 ounces Isopropyl Alcohol
1 teaspoon Betadine Antiseptic Solution
A few drops Lavender Essential Oil
Empty Bottle

First, I cleaned out an old bottle of our ear wash from the vet and poored the ingredients through a typical funnel. One of the warnings on the original recipe was to add the ingredients in this specific order to ensure everything dissolves properly. So...begin with your alcohol and then dump in your boric acid.

Give the bottle a little shake to make sure the acid dissolves. Next add your vinegar...shake a little more...add your Betadine...shake a little more...and then top off with your essential oil. I added the lavender to have a touch of soothing and calming smell...for me and Oliver!

Now...for the hard part. Oliver HATES getting his ears cleaned! The goal is to squirt the solution inside the ear canal. Let the solution sit in the ear canal, fold down the ear over the canal, and gently massage the ear to make sure the solution really sloshes around nicely. Another option is to soak a cottonball and place it near the ear canal, flop that floppy ear back over, and massage the ear to make sure the cottonball releases as much solution into the ear as possible. This is the method Oliver typically allows because he hates the solution just being squirted in his ear!

Even after the first cleaning we saw a huge difference. We did this daily for a week and are now doing weekly cleanings with his bath.


His ears are still a little sad and I'm thinking our next step is to get rid of some of the hair around his ear canal to help keep them dryer longer. While I would like to leave this task to a professional... Chris saw a video online of an at-home ear hair plucking with a special powder...so we'll see...

A note to keep in mind about this solution: the betadine is an orange tint and can easily stain clothes, furniture, etc....so be careful!

Sunday, December 14, 2014

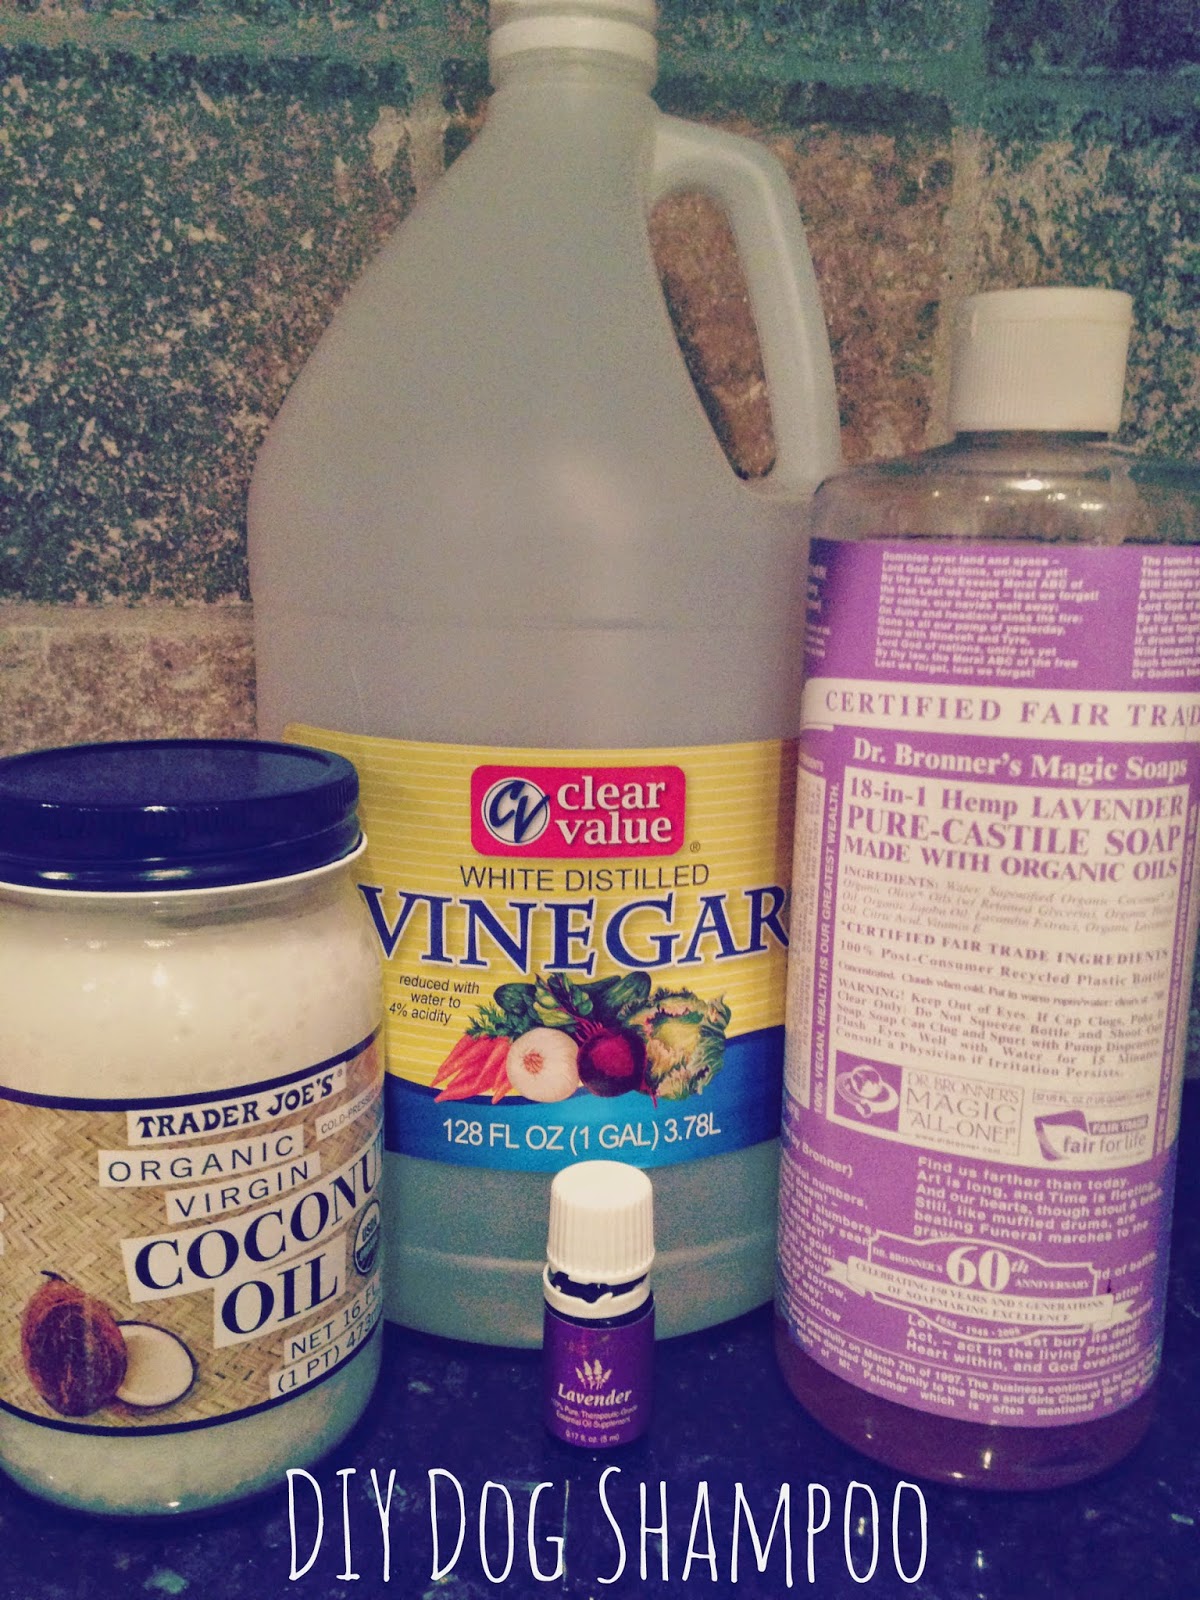
DIY Dog Shampoo

With a toddler and a 9 month old, our poor furbabies get the very last of our attention. Well, when Oliver, our cocker spaniel,  jumped in my lap this afternoon and I really took a second to love on him...my heart just broke. His poor ears are a mess and I noticed a couple little spots on his skin that have been itching him...funky allergies. So, I decided it was time for a puppy spa day!

Oliver got a good smellin' bath, an ear cleaning, a manicure and pedicure, with a mini massage. He is once again a happy and good smelling boy!

I'm not a big fan of how dog shampoos smell so I decided it was time for a DIY option. He needed something that would deodorize but also moisturize his skin. So I did a bit of research and this is what I came up with...enjoy!


1/2 cup of distilled white vinegar
1 tablespoon of coconut oil
5 tablespoons of castile soap
10 drops of essential oil
2 cups of warm water

I put all the ingredients into an old shampoo bottle and mixed well.

Since my Dr. Bronner's Castile Soap was lavender scented, I also used my Young Living Lavender Essential Oil. Not only does it smell fantastic, but it's also a calming and soothing on his skin. I'm a big fan of how smooth and shiny his coat is and he hasn't been scratching since the bath...which is huge for our sweet Oliver!

My only complaint is that it didn't lather very well. I'm going to keep an eye on his ears and little hot spots, but so far so good! He smells delicious, looks fantastic, and seems to be a happy boy! We will definitely be trying again next bath time!

Next on our list is a DIY ear cleaner...stay tuned!

Tuesday, December 2, 2014

DIY All Purpose Spray


After several stomach bugs and a nasty ear infection hit the Henry House...in the same month...I lost my mind calmly reevaluated our operations and decided to toss the chemical cleaners. Clearly something was running a muck in our home and I was desperate to kick that sh*t to the curb! I started with an All-Purpose Spray...and one month later I'm still loving it! I feel healthier and it smells AMAZING...oh yummy lavender! Check out this easy peasy recipe!

DIY All-Purpose Spray

Empty and Clean Spray Bottle
3 tablespoons of vinegar
1 teaspoon castile soap 
1/2 teaspoon baking soda
15-20 drops of lavender essential oil
2 cups of hot water

Mix well and get to cleaning! 

There will be a fuzzy reaction when you mix the baking soda and vinegar so just be warned. I used Dr. Bronner's  Lavender Castile Soap...because it's amazing. I also used Young Living Essential Oils...because they too are amazing. 

I've used this spray on a myriad of surfaces with no regrets! Enjoy!